10 Essential Tips for Using Adhesive Eva Foam Sheets?
Adhesive Eva Foam Sheets are a versatile material widely used for crafting, decorating, and DIY projects. Their easy-to-use nature makes them popular among both beginners and experienced crafters. However, without knowing how to use them effectively, you might face some challenges in your projects.
Understanding the properties of Adhesive Eva Foam Sheets is crucial. They are lightweight, durable, and come in various colors and thicknesses. This variety presents numerous possibilities for creative work, but it can also lead to confusion about the right choice for your needs. Some users may struggle with achieving a strong bond or precision cutting, which can affect the overall quality of their work.
To maximize the potential of Adhesive Eva Foam Sheets, it's important to follow some essential tips. These recommendations will help you avoid common mistakes and enhance your crafting experience. By being mindful of your techniques and the materials you choose, you can create stunning projects that showcase your creativity. Embracing experimentation and learning from your errors will ultimately lead to more satisfying outcomes.
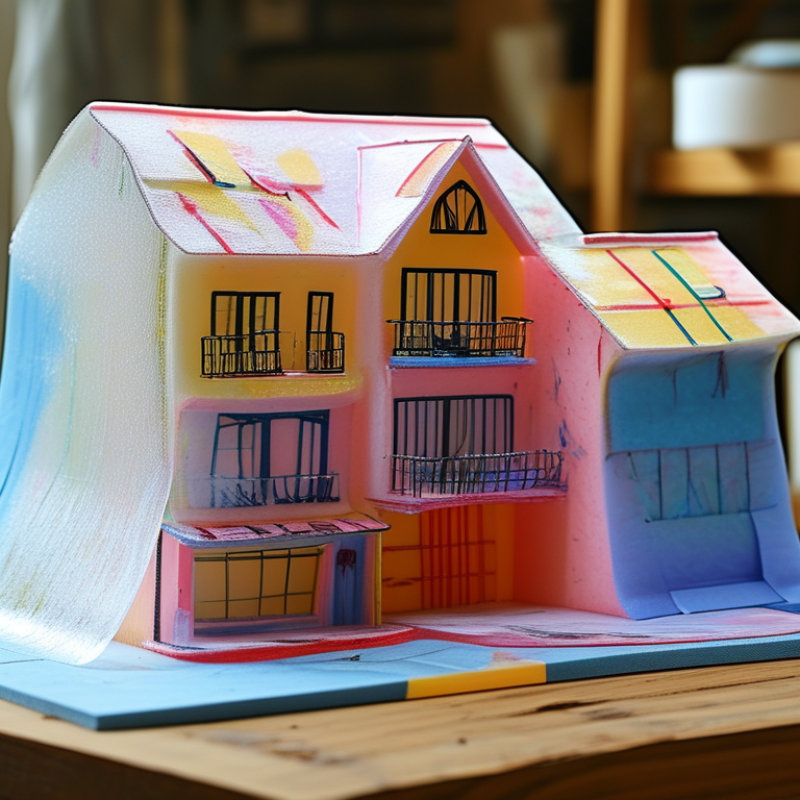
Understanding Adhesive Eva Foam Sheets and Their Uses
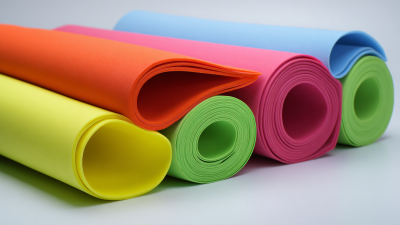
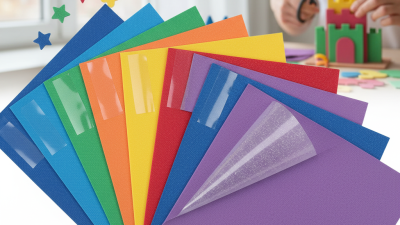
Adhesive EVA foam sheets are versatile materials used in various projects. These sheets have a sticky backing, making them easy to apply to different surfaces. They are often utilized in crafting, home décor, and educational projects. Understanding their properties helps you choose the best type for your needs.
Many users appreciate the flexibility of EVA foam, which comes in different thicknesses. This allows for diverse applications, from creating soft toys to making durable flooring solutions. However, some find the adhesive may not stick well under extreme conditions. Using a heat source can sometimes improve adhesion. It’s essential to test a small area first to avoid unwanted results.
Another aspect to consider is cutting the foam sheets. Sharp scissors or craft knives work best for clean edges. Some people struggle with uneven cuts, which can affect the final appearance of their projects. Practicing proper cutting techniques can lead to better outcomes. Don’t forget to explore designs and colors to enhance your creativity. Exploring these options may reveal new possibilities for your next project.
10 Essential Tips for Using Adhesive Eva Foam Sheets
| Tip Number |
Tip Description |
Application |
| 1 |
Clean the Surface Before Application |
Ensure the area is free of dust and grease. |
| 2 |
Use a Sharp Cutting Tool |
For precise shapes and edges. |
| 3 |
Test Adhesion on Scrap Material |
Check if foam adheres well before final use. |
| 4 |
Apply Even Pressure |
Ensures full contact and stronger bond. |
| 5 |
Allow for Proper Drying Time |
Let adhesive set according to instructions. |
| 6 |
Store Adhesive Foam Sheets Properly |
Keep away from extreme temperatures. |
| 7 |
Use in Well-Ventilated Areas |
Minimize fumes exposure during application. |
| 8 |
Choose the Right Thickness |
Select appropriate foam depth for your project. |
| 9 |
Avoid Overlapping Edges |
Helps maintain a clean finish. |
| 10 |
Customize with Paint or Markers |
Enhance the appearance of your project. |
Choosing the Right Thickness and Texture for Your Project
Choosing the right thickness and texture for your adhesive EVA foam sheets can significantly affect your project's outcome. Thinner sheets, around 1-2 mm, are flexible and easy to cut. They are great for detailed designs. However, they may not provide enough support for heavier structures. Think carefully about how you plan to use them.
On the other hand, thicker sheets, around 3-6 mm, offer better stability. They work well for projects requiring more durability. The texture of the foam also plays a crucial role. Smooth finishes are ideal for painting, while textured sheets can add depth and interest. Experimenting with both can help you find the best combination.
Reflect on your project's needs. Do you want something lightweight or sturdy? Consider how the thickness and texture affect the final look. Sometimes, the ideal choice isn't clear. Allow yourself to try different options. You may discover an unexpected combination that works better than you imagined. Embrace the process, and enjoy the creativity in every choice you make.
Preparing Surfaces for Effective Adhesion with Eva Foam
Preparing surfaces for effective adhesion with EVA foam is crucial for achieving a long-lasting bond. Start by ensuring your surface is clean and dry. Dust, dirt, and moisture can interfere with adhesion. Use a clean cloth to wipe down the area. For tougher residues, consider using isopropyl alcohol. This step can seem tedious, but it's essential for a successful application.
Next, consider the texture of the surface. Smooth surfaces may require more effort to ensure proper adhesion. You might want to lightly sand the area to create a better grip for the EVA foam. This process is often overlooked, yet it can make a significant difference. It’s also important to test the surface with a small piece of foam before committing. This allows you to check if the bond forms correctly.
Humidity and temperature play a role as well. High humidity can weaken the adhesive power of EVA foam. If conditions are not ideal, consider postponing your project. It's not just about sticking the foam; it's about making it last. Rushing through the preparation phase can lead to disappointing results. Remember, patience is key when working with adhesive materials.
Techniques for Cutting and Shaping Adhesive Eva Foam Sheets
When working with adhesive EVA foam sheets, precision is key. To achieve precise cuts, use a sharp craft knife or rotary cutter. A straight edge can provide support as you cut. Some users recommend a self-healing cutting mat to protect your surfaces. This technique can lead to cleaner edges, which is essential for any project.
Shaping EVA foam sheets requires creativity and patience. Heat guns can help soften the material for bending. However, overheating can distort your project. According to a report by the International Journal of Materials, controlled heat application can enhance the foam's adaptability while maintaining structural integrity. Always test on scraps first. This approach minimizes mistakes and maximizes results.
While popular among crafters, cutting and shaping also present challenges. Unexpected results may arise when combining techniques. For example, a design that looks good on paper can become unwieldy in practice. Documenting these experiences can turn setbacks into learning opportunities. Balance your ambition with realistic goals. Each project refines your skills, helping to avoid common pitfalls.
Tips for Maintaining and Storing Adhesive Eva Foam Products
When it comes to adhesive Eva foam sheets, proper maintenance and storage are often overlooked. These materials can warp or lose their stickiness if not handled correctly. Keep foam sheets in a cool and dry place to avoid moisture damage. Humidity can lead to adhesion problems, making your projects less reliable.
Ensure the sheets are stored flat. Avoid placing heavy items on top of them, as this can cause creases. Consider using a protective cover or storage box for additional safety. It’s worth reflecting on the importance of careful handling. Rushing through storage can result in damaged products that require replacement.
Regularly check your foam sheets for signs of wear or deterioration. If you notice any issues, it’s better to address them early. Invest time in maintaining your materials, as it prolongs their life. Remember, how you care for your materials impacts the quality of your finished projects.