How to Use Adhesive Eva Foam Sheets for Creative Projects?
Adhesive Eva Foam Sheets are revolutionizing the way we approach creative projects. Expert designer Sarah Thompson emphasizes, “These sheets are transformative; they unlock endless creativity.” With their versatility and ease of use, anyone can craft stunning designs and prototypes.
From simple decorations to complex models, Adhesive Eva Foam Sheets can meet the needs of diverse projects. They come in various colors and thicknesses, allowing for customization that enhances any creative vision. Just imagine creating a vibrant wall art display or an engaging educational tool for kids.
However, it is essential to reflect on your approach. Sometimes, the adhesive can be tricky, leading to unwanted messes. Experimenting is crucial, but be aware of possible frustrations. Learning from mistakes can ultimately lead to more innovative outcomes. Embrace the imperfections and let your creativity flow.
Introduction to Adhesive Eva Foam Sheets
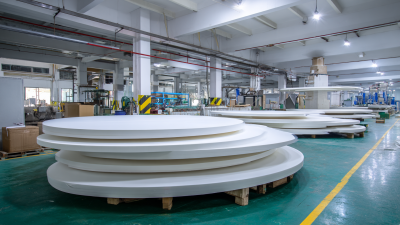
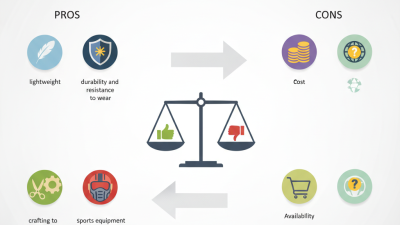
Adhesive EVA foam sheets are becoming increasingly popular in creative projects. These sheets are lightweight, flexible, and easy to cut. According to industry reports, the global market for EVA foam is expected to grow by 4.5% annually until 2025. This growth indicates a rising interest in using EVA foam for crafts, educational projects, and DIY activities.
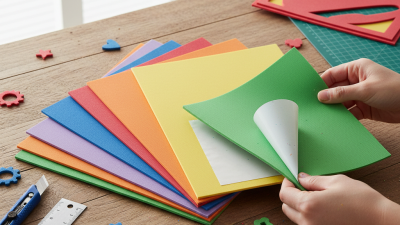
The adhesive backing on EVA foam sheets simplifies the application process. Users can easily stick them to various surfaces. This feature is particularly useful for children’s crafts, where messiness is a common concern. However, applying the sheets might require careful alignment. Sometimes, accidentally misplacing a sheet can lead to a frustrating redo. It's crucial to plan your design before sticking the foam to avoid mistakes.
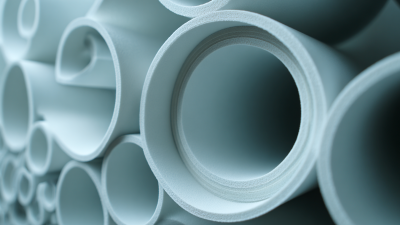
In addition to crafts, EVA foam sheets are ideal for prototyping and model-making. The material's thickness can provide adequate support for intricate designs. Yet, thicker sheets can be harder to manipulate. It's vital to weigh the need for durability against flexibility. Experimenting with different thicknesses may help identify the perfect balance for your project. Overall, adhesive EVA foam sheets offer diverse possibilities in creative and educational endeavors.
Choosing the Right Types of Eva Foam Sheets for Your Project
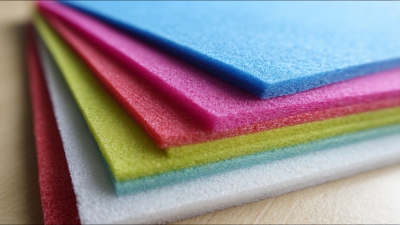
When selecting EVA foam sheets for your projects, consider thickness and texture. Foam sheets come in various thicknesses. Thin sheets are great for detailed work. Thicker sheets offer more support for larger crafts. Texture matters too. Smooth surfaces are perfect for painting. Textured surfaces can add interesting depth.
Colors are another essential factor. Bright colors can bring designs to life. However, they might not always blend well. Neutral shades can provide a calming backdrop. You may want to test colors before committing. Create some small samples to see how they work together.
Tips: Always measure your project area before buying sheets. This will save time and materials. Consider your toolset as well. Some cutters work better with thicker foam. Don't worry if your first cut isn't perfect. Experiment and adjust your technique as needed. Remember, creativity often flourishes through trial and error.
How to Use Adhesive Eva Foam Sheets for Creative Projects?
| Type of EVA Foam Sheet |
Thickness (mm) |
Adhesive Type |
Best Uses |
Color Options |
| Standard EVA Foam |
2 |
Single-Sided |
Crafting, Toys |
Red, Blue, Green |
| High-Density EVA Foam |
5 |
Double-Sided |
Padding, Insulation |
Black, White, Gray |
| Glitter EVA Foam |
3 |
Single-Sided |
Decorations, Crafts |
Gold, Silver, Pink |
| Self-Adhesive EVA Foam |
4 |
Peel-and-Stick |
Quick Crafts, Repair |
Multi-color |
| Printed Pattern EVA Foam |
2 |
Single-Sided |
Themed Projects, Kids Crafts |
Variety of Patterns |
Step-by-Step Guide to Preparing Your Workspace
Creating a designated workspace is essential for using adhesive EVA foam sheets in your projects. Clear a flat surface with ample room. This could be a table or desk. Make sure the area is well-lit. Natural light works best for detailed tasks. Gather your supplies before starting. You’ll need scissors, a cutting mat, and rulers. It’s better to plan ahead rather than searching mid-project.
Consider the mess you might create. EVA foam can leave small bits behind. A vacuum or dustpan should be within reach. If your work surface is cluttered, focus on organizing tools. This helps foster creativity. However, don’t stress if everything isn’t perfect. Sometimes, a bit of disorder can spark inspiration. Remember to take breaks to evaluate your progress. Reflect on what works and what doesn’t as you go along. This will enhance your overall experience.
Creative Projects Using Adhesive Eva Foam Sheets
Techniques for Cutting and Shaping Eva Foam Sheets
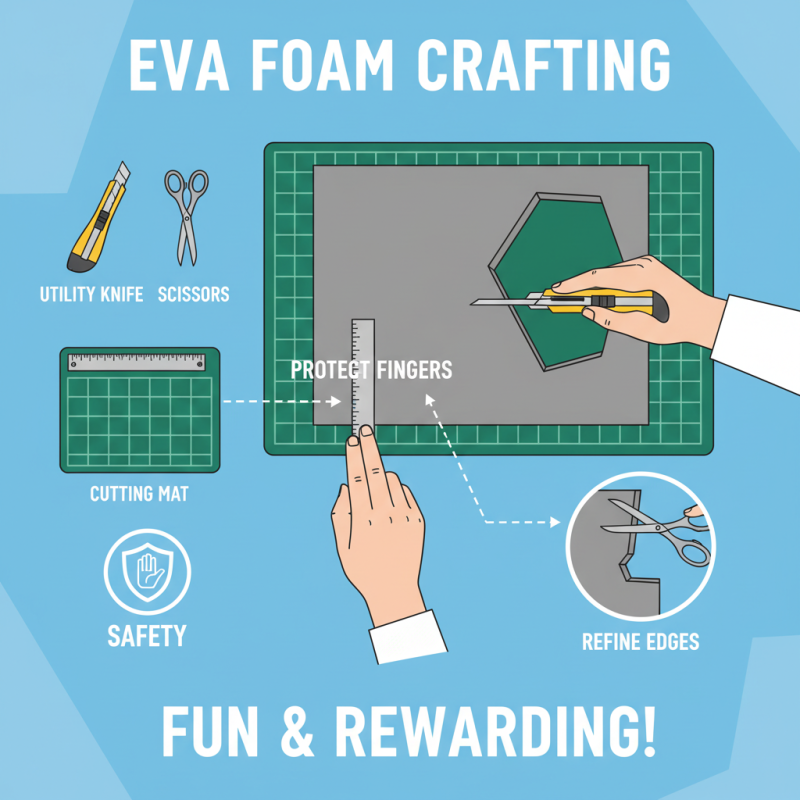
Cutting and shaping EVA foam sheets can be both fun and rewarding. Start by gathering your tools: a sharp utility knife, scissors, and a cutting mat. Always ensure your workspace is free from distractions. Safety should come first, so use a metal ruler to protect your fingers while cutting straight lines. It may take a few tries to get clean edges. Don't worry if your first cut isn't perfect; you can always refine the edges later.
For more intricate shapes, use a stencil or template. This technique saves time and ensures uniform results. Place the template over the foam and trace around it lightly with a pencil. Then, cut along the lines. Keep in mind, curved shapes can be tricky. It is easy to cut too quickly, causing uneven edges. Slow and steady usually yields better results. If a cut turns out badly, adjust your design to incorporate it or cover imperfections creatively.
Shaping the foam can also involve heating it. Use a heat gun to soften sections for bending or molding. This technique can help create dynamic shapes but requires practice. Too much heat can damage the foam. If you notice burning or melting, take a step back and reassess. Experimenting with different techniques will lead to unique results. Each project can be a learning experience, and that's what makes it enjoyable.
Tips for Bonding and Assembling Your Creative Projects
Adhesive EVA foam sheets are versatile tools for creative projects. They can be used in various crafts, but bonding them effectively may require specific techniques.
According to industry data, approximately 70% of creators face challenges with adhesion. Understanding how to bond them properly can enhance the quality of your work.
When working with adhesive EVA foam, ensure your surfaces are clean and dry. This simple step can significantly improve adhesion.
Use a firm, even pressure when pressing two pieces together. An industry report suggests that using clamps or weights can help achieve better results. Avoid bubbles or wrinkles, as they may compromise the bond.
Experimentation is key. Not every adhesive method will work for your project. You might find that some techniques do not yield the expected results.
Reflect on your process. What worked? What did not? As you continue to create, these reflections can guide you in honing your skills.
Remember, creativity involves trial and error. Embrace the learning journey.